Thursday, July 31, 2014

How We Chose to Weatherize

After the plywood is on the walls and the roof, we were ready to apply the water barrier that keeps rain and snow from rotting the wood frame of the house. We're using metal roofing so we applied 30# felt tar paper to the roof. You cut your the length that you need then staple it to the ply wood underneath. Start with the bottom layer of paper and work up toward the peak of the roof overlapping the paper by at least 4 inches. We covered the peak of the roof in this picture since it was going to rain heavily for the following three days, but we might cut that out when we install the metal roofing for ventilation.

Most people you Tyvek, a plastic house wrap, or something similar to cover the walls. However, since we're planning to use rough cut vertical slabs as our siding instead of overlapping horizontal siding, I thought it would be prudent to use something a little more heavy duty. We used adhesive, self healing tar paper and installed it in the same way as the roof, starting at the bottom and working up, overlapping and using a hammer tacker to secure it. Royce is calling it the ninja house :)

Monday, July 21, 2014

The Walls

Day 3 of the build found us putting up walls already! Can you believe it?! Helping hands and a lot of know how really go a long way. We started with the end walls.
The floor made a really nice work space on which to layout our walls. 

We used 16" centers for the studs. (For those of you who don't know, walls need support studs at regular intervals, usually 16 or 20 inches. You center the studs over each 16 inch mark. That's call 16" on center.) Our rear end wall has no windows so we started there. We built the six wall pieces that do not go over the wheel wells before putting them up on the trailer. Two of the side wall sections had extra long top plates to extend over the wheel wells and connect to the front sections. 

Dad, and my wonderful friend Dana bracing one of the side walls.

We check often for plumb (straight up and down) and squareness (90 degree angles) when putting up the walls and we used a lot of bracing to keep them that way. 

Once we had the wall pieces up, we built a bottom plate around the wheel wells and inserted studs to brace those sections of the walls. 


After that we added a second top plate for stability and anchored the side walls using 5/8" bolts and self locking nuts. Under the door frame we drilled a hole to drop the head of the bolt down into the 2x4.
Door frame. 

This nut is not fully tightened.


Saturday, July 19, 2014

The Floor

After sealing the floor of the trailer with aluminum sheeting we were ready to build the floor. We used rigid foam insulation set into the trailer frame. The insulation is two feet wide and it almost fit right into the channels. One of the channels was wide enough to pound it in after I cut of the 1/4 inch tongue on one side of the insulation with a razor blade. The other two channels require some skill-saw trimming. We used more silicone caulking in the places were the insulation was not tight to the frame to prevent airflow around the foam. Airflow around rigid foam sort of ruins its insulation value.

Next we laid some 6 mil plastic over the insulation to provide a vapor barrier from the house. Over the vapor barrier we installed 5/8" tongue and groove plywood sub-floor. We used the skill-saw to cut it to fit the width as well as fit around the wheel wells. 
My brother likes to photograph me while I'm eating.


Go floor!! We used more self tapping screws to attache the plywood directly to the frame of the trailer. We actually drilled holes first since we kept breaking screws and bits. I couldn't decide under pressure what I wanted to do about the floor so we just left the sub-floor as it is here and I will add the finish floor in later. 

The Trailer

I'm quite behind, but I've been soooo busy the past 5 weeks. Here's the first of many to bring you all up to speed.

We finally (after many delays and worried emails) picked up our trailer.
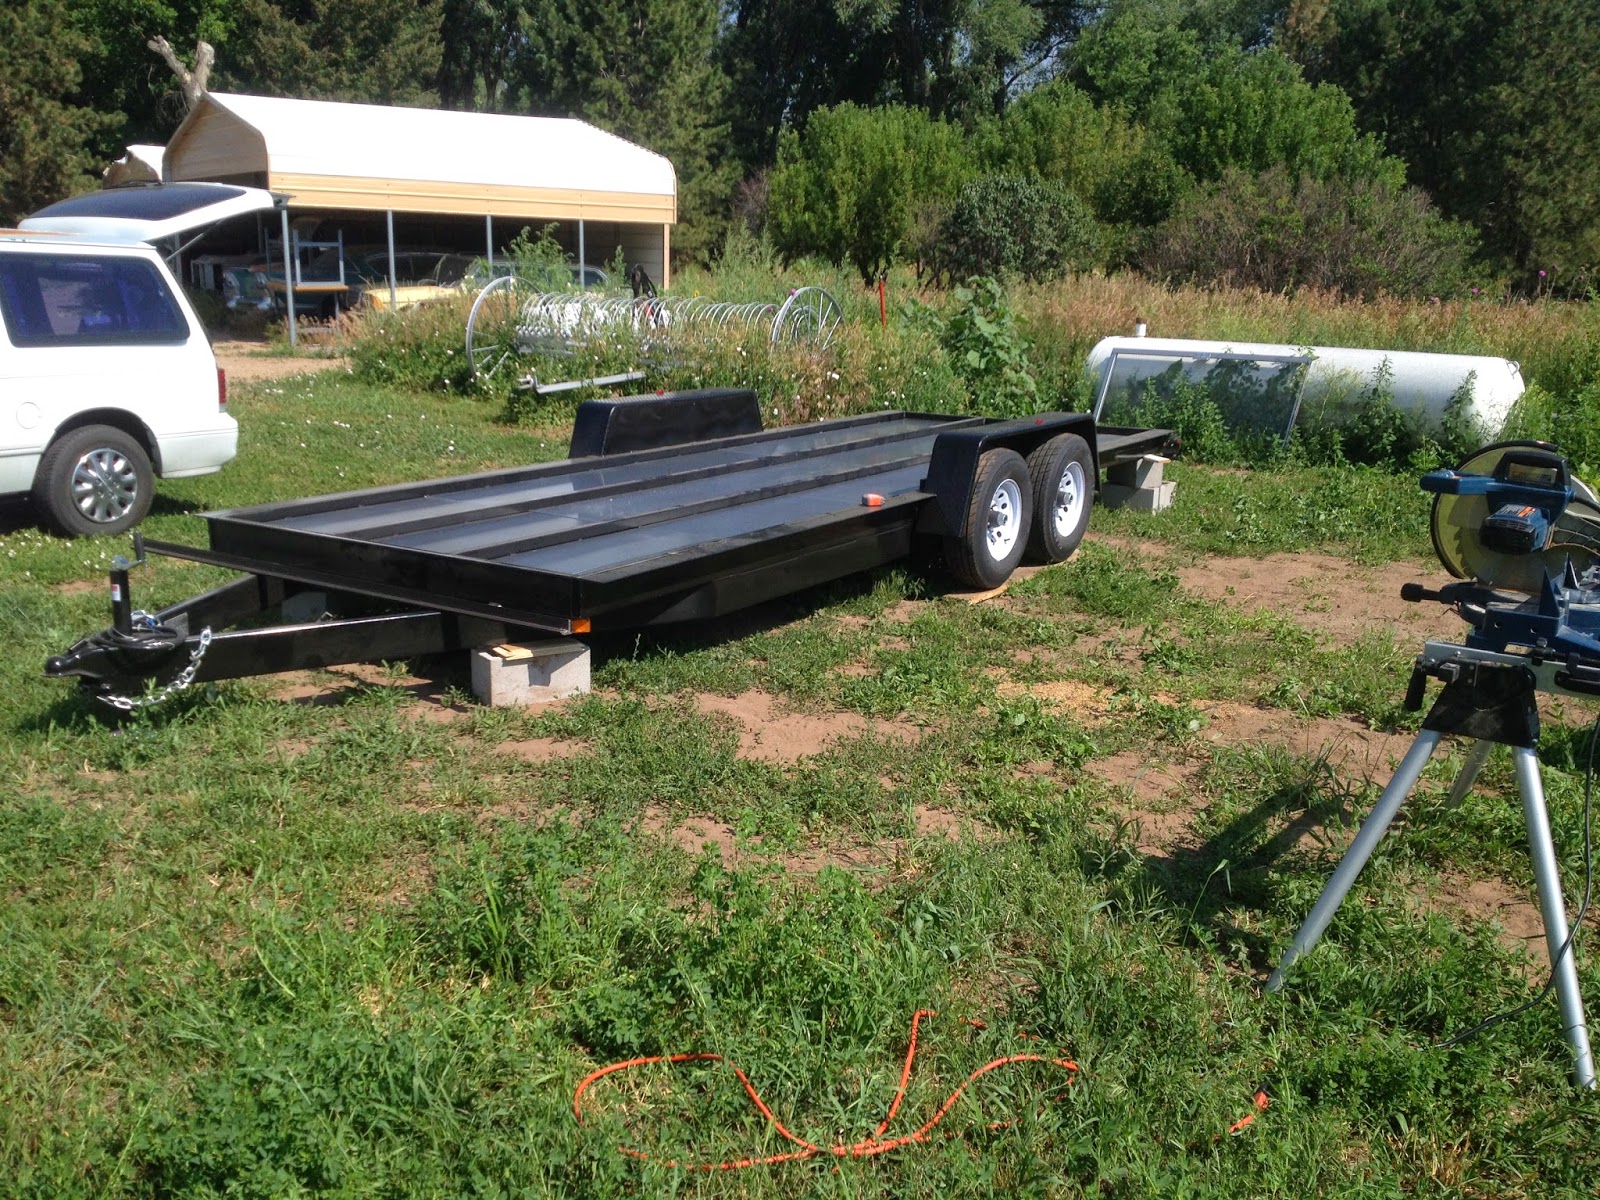
Isn't it beautiful!

We ordered our 20' trailer from Tiny Home Builders. We opted for the dropped axle which provides 2-3 extra inches of head space. I didn't know until I received the trailer that a dropped axle also decreases the width of the trailer bed from 7' 6" to 7' 3". If I had known, I probably would have for forgone the dropped axles which cost extra anyway. However, the trailer is well made and Dan at Tiny Home Builders jumped through a few hoops for us to make sure we would get our trailer by the time my dad flew in from Alaska to help with the build. 

We spent a long time making sure the bed of the trailer was level so that the house would be level as we built upon it. You might notice in the picture above that we'd already put in the aluminum sheeting we installed to protect our rigid foam insulation from road water. Here's a pic of that installation. 


That's my dad rockin' the pony tail! I ordered my aluminum sheeting from a fabrication shop and they cut it to size for us. Many tiny home builders will cover the entire top of the trailer bed with metal sheeting because they then build a floor frame on top of it. This has never made sense to me since the trailer already has a frame and if you put your insulation down into the frame of the trailer it saves you 3.5 inches of head space!

We did have to do a little bit of finagling to fit the sheeting in because I ordered it before we actually had the trailer. DO NOT DO THIS!!! The only reason I did that was because our trailer was so late coming in and I wanted to save build time because my dad only had 10 days to work with me. We were lucky that the aluminum fit the way it did because even though I called the manufacturer to get the the sizes I needed for the metal, when we actually got it we found some measurements that differed from what I got over the phone. It would have been much safer to just take the measurements I needed myself to make sure. We had to install some angle iron on the edge of one of the channels to take up extra space as well as on the front and back to hold it up on the edges.


We used self tapping screws to attach the angle iron and the sheeting to the trailer frame. I destroyed several drill bits in the process. Screwing through metal is not so easy. Then we used silicone calking around all the edges of the aluminum sheeting to seal the insulation off from any ground water that would attempt to make an entrance. Whew... that only took two days.