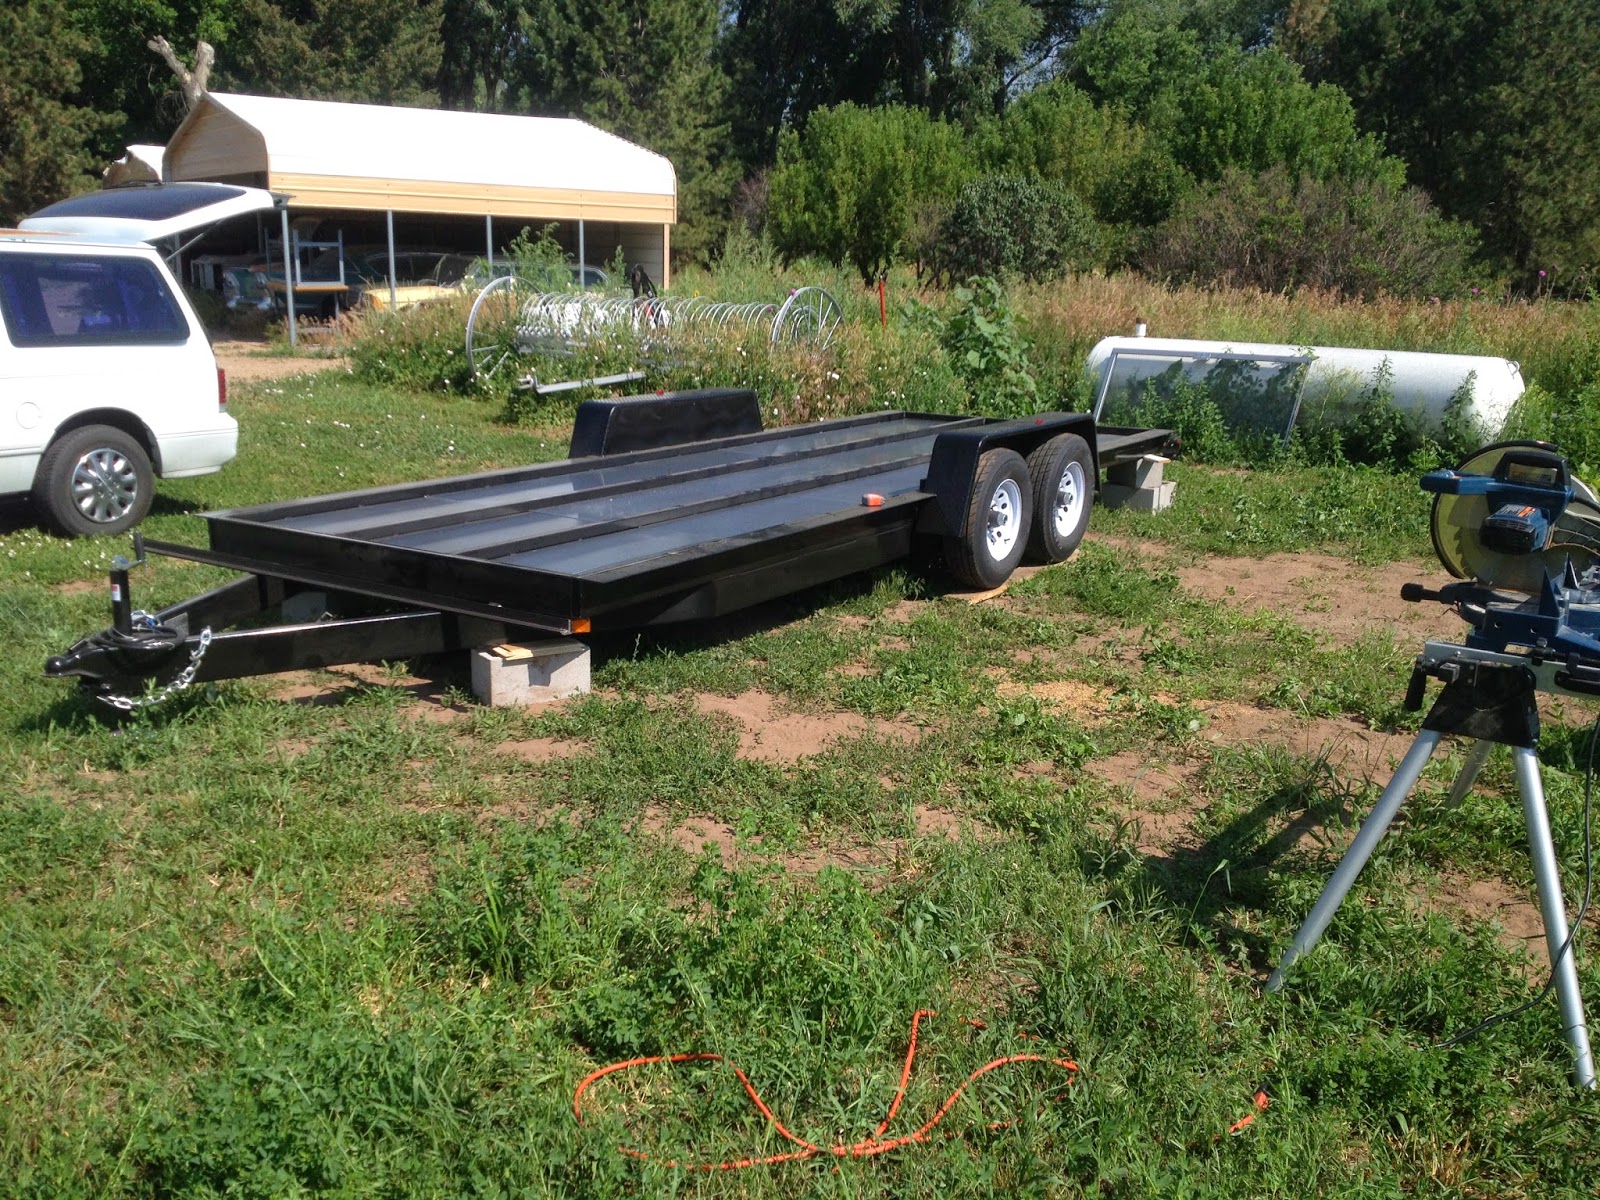
We finally (after many delays and worried emails) picked up our trailer.
Isn't it beautiful!
We ordered our 20' trailer from Tiny Home Builders. We opted for the dropped axle which provides 2-3 extra inches of head space. I didn't know until I received the trailer that a dropped axle also decreases the width of the trailer bed from 7' 6" to 7' 3". If I had known, I probably would have for forgone the dropped axles which cost extra anyway. However, the trailer is well made and Dan at Tiny Home Builders jumped through a few hoops for us to make sure we would get our trailer by the time my dad flew in from Alaska to help with the build.
We spent a long time making sure the bed of the trailer was level so that the house would be level as we built upon it. You might notice in the picture above that we'd already put in the aluminum sheeting we installed to protect our rigid foam insulation from road water. Here's a pic of that installation.
We did have to do a little bit of finagling to fit the sheeting in because I ordered it before we actually had the trailer. DO NOT DO THIS!!! The only reason I did that was because our trailer was so late coming in and I wanted to save build time because my dad only had 10 days to work with me. We were lucky that the aluminum fit the way it did because even though I called the manufacturer to get the the sizes I needed for the metal, when we actually got it we found some measurements that differed from what I got over the phone. It would have been much safer to just take the measurements I needed myself to make sure. We had to install some angle iron on the edge of one of the channels to take up extra space as well as on the front and back to hold it up on the edges.


Any cost estimate for how much the aluminum sheeting cost you for your 20' trailer? That certainly seems a lot easier than crawling under the trailer and installing flexible aluminum flashing, but I'm wondering if there's a significant price difference.
ReplyDeleteThanks,
Erin
I guess now that I think about it, you could have used rolls of flexible aluminum flashing, right? You'd just screw an edge to one of the cross braces under your trailer and roll it out on top of the bottom cross braces just as you laid the aluminum sheets on top. Would that make sense?
ReplyDelete